I have recently decided to start making my own beauty products. This is less because I am a can-do pioneer woman, and more because I have both sensitive skin and control issues.
After doing copious amounts of research, I discovered that many of the things I would like to make (chapstick, conditioner, lotion) are relatively easy and inexpensive to make. They also use a lot of the same ingredients. Bonus.
My first foray into this brave new world was making my own lip balm. I went online, read a ton of recipes, ordered some empty tubes and pipettes from this etsy shop, and got down to it!
The recipes I found online all ended up making the lip balm too soft, so my recipe isn't perfected yet, but I think I know where I'm going. Here's what I did as well as what I think I will do next time.
To Make Some Lip Balm
you will need:
2.5 tsp grated beeswax (I used 2 tsp)
2.5 tsp coconut oil (or another oil that is the consistency of butter at room temperature)
1.5 tsp cocoa butter (or another oil that looks like cracked earth at room temperature)
2 tsp jojoba oil
1 tsp almond oil (or just 1 Tbsp oil that is liquid at room temperature)
.5 tsp vitamin E oil
some drops of essential oil or extract if you wish (I used vanilla extract)
a grater that you will not need for food ever again
some wax or parchment paper would be helpful to grate beeswax onto
some type of double boiler arrangement (I used an old almond butter jar in a pan of water)
empty tubes or whatever vessel you choose for your lip balm
pipettes or a medicine dropper
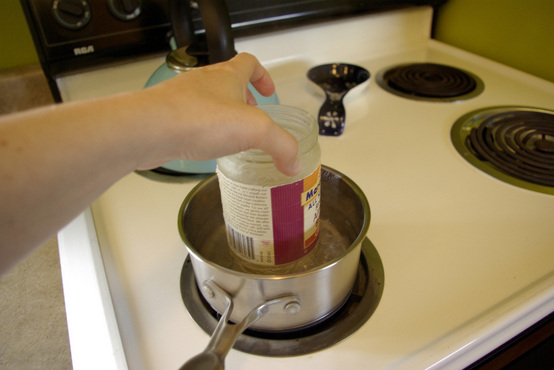
Put all the ingredients except the vitamin E oil and essential oil into a jar and place in a pan of boiling water. It should start to melt right away. As soon as everything is liquid, remove from heat.
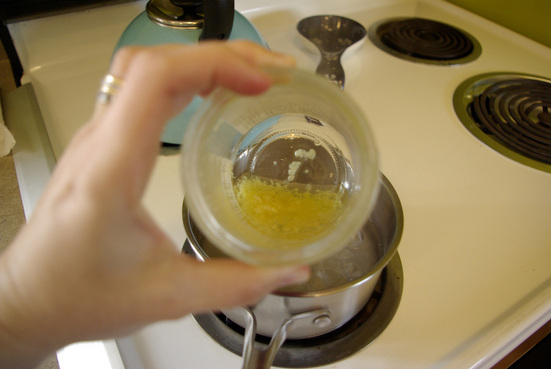
Mix in the last two ingredients and put into lip balm tubes. Hurry, it starts to solidify right away! Fill the tubes ALL THE WAY up, as it dries it will shrink down. Let them sit, leave them alone, until they have fully hardened, a few hours maybe.
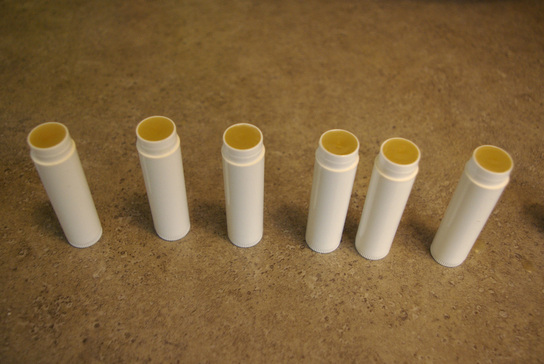
Enjoy your sweet, un-chapped lips! Even with my super-helpful helper below, this took me 20 minutes, start to finish and yielded 6 .15oz tubes. Now comes the fun part of making up cool labels!
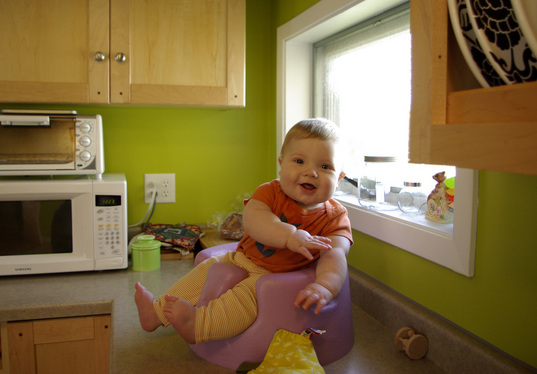
he would like to grate some beeswax now please
 RSS Feed