Bleach Pen Discharge Tutorial
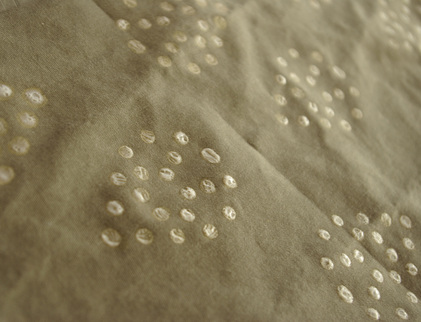
or How I Made That Super Cool Circle Fabric
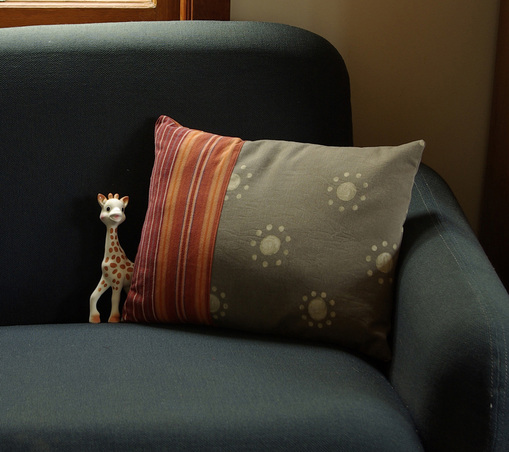
If you came to this page, you are probably interested in this type of thing. Right off the bat, I will tell you that you can do it! It's easy and uses only materials that you can find around the house or in your grocery store. A few things to know before we begin-
Discharge means removing color, so, obviously, the darker the fabric you discharge, the more dramatic your results.
We will be discharging with bleach so you'll want to use only natural plant-based fabrics: cotton, linen, rayon, hemp. Also, you'll want some air flow because bleach doesn't smell good. Some fabrics bleach better than others, so if you have a dud, don't despair, just try again.
There are lots of ways to fancy this up, but this is the down and dirty, super simple version. Have fun!
Supplies
You will need:
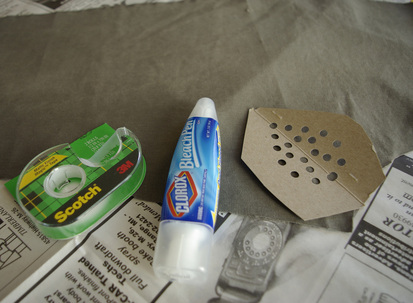
a bleach pen (available at grocery and department super stores for under $3)
tape (masking or clear would be best)
some stencils! I made the one pictures with a hole punch and some kleenex box cardboard, but you can make them with anything! Use scissors, and xacto knife, paper punches. I do recommend using cardstock or cardboard over copier paper as the bleach will soak through and ruin your design. Plastic works best as it doesn't absorb, but I like to do a paper run first to make sure the stencil is good.
fabric. I'm using half of a pant leg here, but go nuts! Just follow the fiber content recommendations above and make sure the fabric is clean and pressed before you begin
A work surface. I used my dining room table, but you could use any hard surface- the floor, a counter, etc.
newspaper or something to protect your work surface
Sodium metabisulfite (available where brewing supplies are sold) or something to neutralize your bleach.This is a very important step as rinsing and washing doesn't stop the bleach. It will continue to work and can damage your fabric. Other options are Bleach-Stop and Anti-Chlor, both avaliable at DharmaTrading.
Get Started
Work surface covered, stencil ready, fabric laid out, you're ready to roll!
Take a moment to think about what kind of pattern you will make. Will it be regular? Random? Consider the spacing before you begin as once you start, there's no going back.
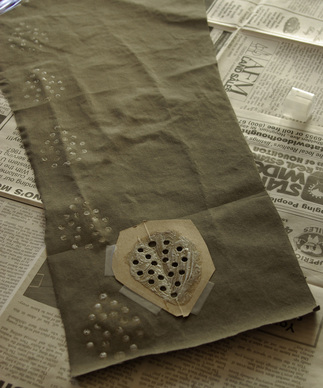
Once you know where you're going, place your stencil on the fabric and add a few pieces of tape to keep it stable.
Using the fat end of the bleach pen, gently scrub over your stencil, making sure to fill all the holes, getting it right up to the edges of your design.
When you've finished, gently lift the stencil (no sliding) up and place it down in the next area. Make sure you have it lined up the way you want before you set it down as there's usually some bleach left on the stencil.
Repeat until you have the design you want!
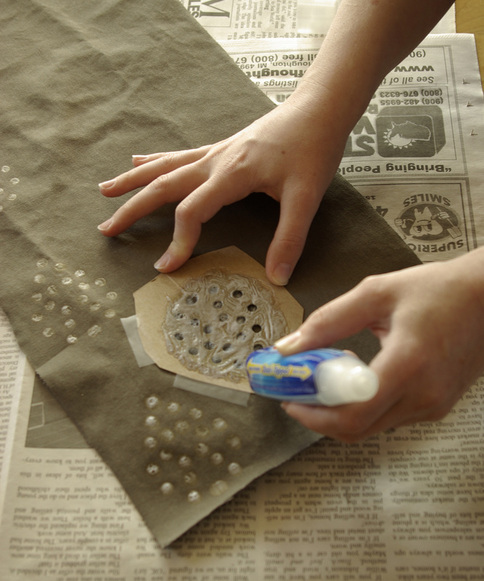
gently scrubbing
Getting it Right
Bleach can take a while to lighten significantly. Depending on the fabric, somewhere between 10 minutes and an hour.
Keep a close eye and get ready to neutralize as soon as you get your desired color though, because you don't want to leave it on any longer than you have to.
Neutralizing
Ok, you've got the color you want, now keep it!
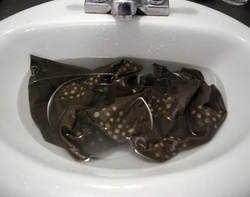
Unless you're working with a lot of fabric, you can probably neutralize in the sink (if it's relatively clean).
Rinse your fabric well under warm water, removing any bleach crust.
Fill the sink with water and add 1 tsp of sodium metabisulfite (of follow the instructions of whatever you're using) and add your fabric. Gently agitate, making sure the water gets everywhere and that the fabric isn't wadded all up.
Let it sit for 10 minutes and then rinse again.
Finishing Up
Hey, you did it! That was easy! Wahoo!
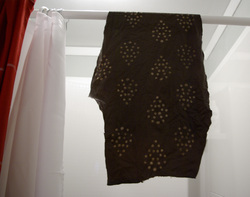
Once the fabric is rinsed, squeeze out extra water and allow to air dry.
I would recommend machine washing before you lick it, or sleep on it or anything.
Enjoy!
I would love to see what you do with this, send me a link or email me a photo and I'll share it with everyone (or not, if you don't want me to of course) ansley at rispoklife dot com
