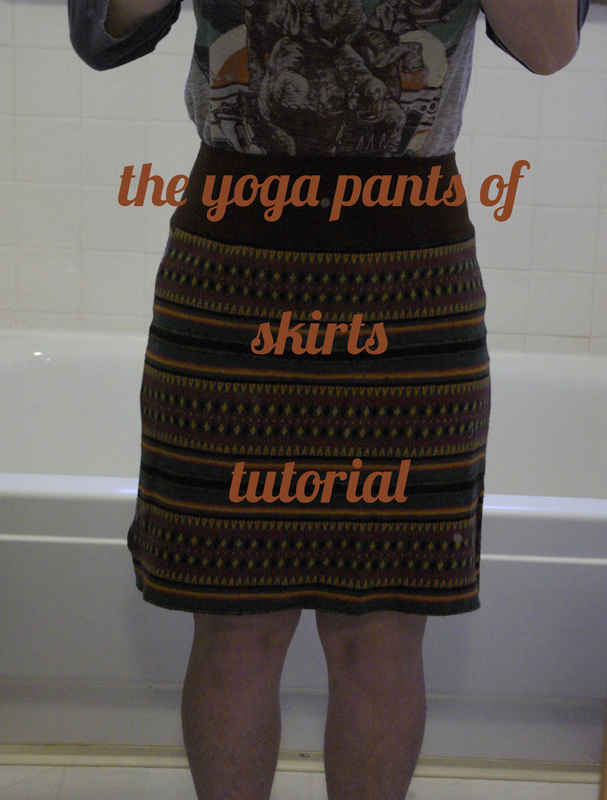
So, I make a couple of different kinds of skirts for myself and I've had a few requests for a tutorial of some kind. Here it is! It's easy, it's changeable, it's everything to everyone! I made this from start to finish, including photography (which you can tell from my crazy white balances takes a LONG time), in under an hour. Easy.
Materials
For this skirt you will need:
A shirt of any kind of stretchy material that you would like stretched across your bum that is big enough, when folded in half, to fit your pattern piece.
The pattern piece that I will show you how to make momentarily
super stretchy jersey at least 8 inches by the size of your waist (the long dimension should be the stretchiest direction of the jersey)
sewing machine
thread
scissors
How to Make Your Pattern Piece

The piece above is obviously made from wrapping paper, but I also use freezer paper to make pattern pieces. You can use whatever kind of paper you want!
We're going to use the existing shirt hem for the hem of the skirt (yay!) so the bottom and top of your pattern piece will be parallel to each other. One side will be perpendicular to these as it will be placed on the fold of the shirt. So, as in the picture above, just one side of the pattern piece will be angled.
My pattern piece was 8 in across at the top, 11.5 in at the bottom and 16.5 in long. For the angled side I just drew a straight line from the top to the bottom measurement. I'm 5'3" and a size 4, so if you are significantly different, you'll want to adjust those measurements.
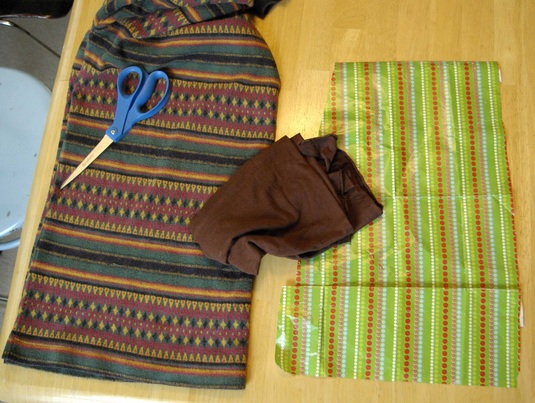
Cutting
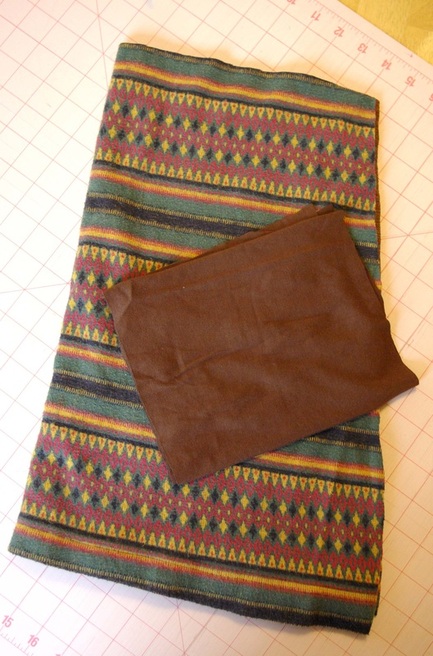
Now take your shirt, fold it in half, and make sure the side seams are lined up and the bottom edges are aligned.
Place your pattern piece with the straight long side on the center fold of the shirt (away from the side seams).
Cut around your pattern piece (don't add seam allowance, we're working with knits here!).
You can also cut out your waistband piece. Using a quilting square or some other way to measure and cut accurately, cut out a rectangle that is 8 in wide by however wide your waist is, making sure that the waist dimension is with the stretchiest way of the jersey. Don't add any length over and above your waist measurement, you could actually take an inch or so off if you like, you don't want the skirt to fall off!
Your pieces should look like this. But maybe less wrinkly...
Sew it Together!
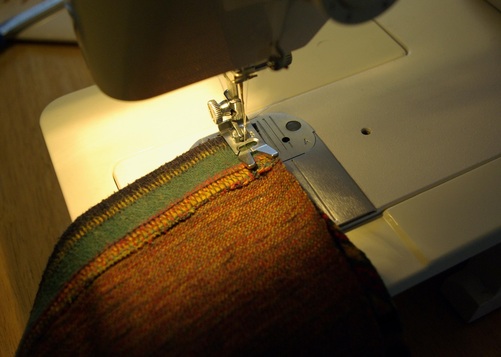
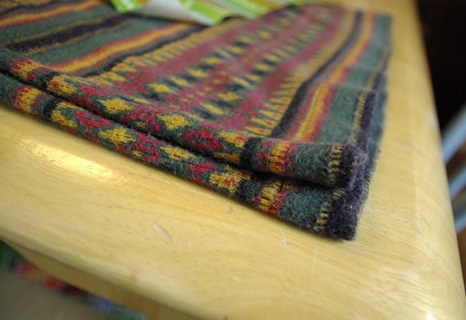
Take your two skirt body pieces, place them right sides together, making sure to line up those bottom hems, and sew the first side seam! I use a 3/8 in seam allowance, but you should use what you're comfortable with, it's not a big deal.
When I'm sewing over the bottom hem, I sew perpendicular to the bottom of the skirt, disregarding our angled cut. That way the hem hangs straight when your wear it, not weird.
I use a plain old straight seam. Honestly, you don't need this seam to stretch at all, so no zigzagging. I do use a medium length stitch so it doesn't pucker.
When you're done with the first seam, do the other side.
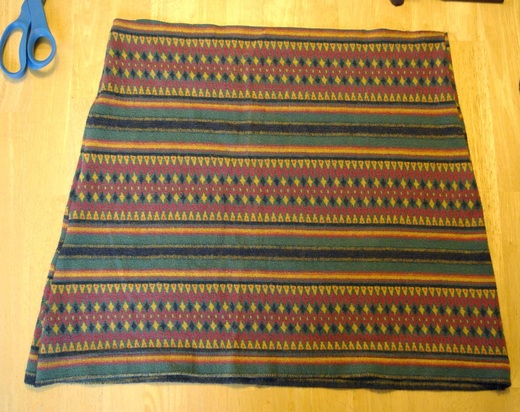
You should now have something that looks like this lovely trapezoid here. This is the time to make sure you can pull your skirt on over your hips and that it fits the way you want. Don't worry if it's not tight enough at the top, the waistband will change that.
If you want to make a change just redo the side seams until you're happy.
After you are pleased with the skirt body. Get out your waistband piece.
Fold it in half so the short sides are lined up, right sides together, and sew them together so you have a loop about the size of you!
Now take the two ends of the seam you just sewed and line them up WRONG sides together, folding the loop in half, giving you a 4 in wide loop with no exposed seam allowances.
Add the Waistband
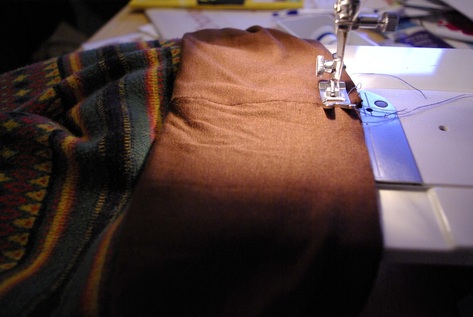
Find the middle point of the waist one of the skirt body pieces and lay your two seam ends of your waistband piece on top of it.
Using a narrow zigzag stitch and a wider seam allowance (I used 1/2 in) sew the waistband onto the skirt body.
You'll need to stretch the waistband fabric as you sew or you'll get some gnarly puckery gathers at the end. Stretch gently, but firmly and consistently, adjusting your tension as you go to make sure you end up with the proper amount of each fabric at the end.
Some people use pins.
That's not how I roll.
You now have a skirt! You can finish your seams if you want- serger, pinking shears, whatev. I don't usually do anything with cotton jersey, it doesn't fray.
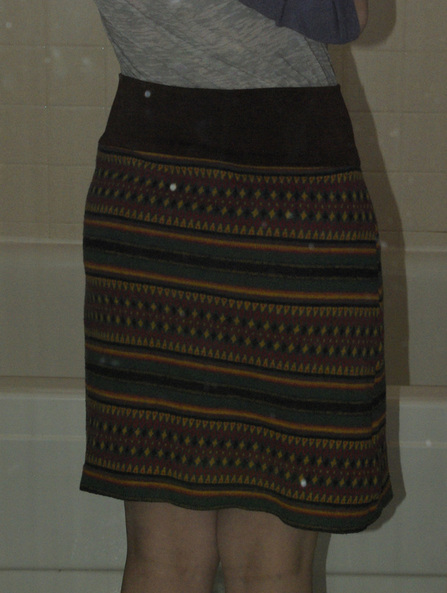
The End
Ha ha ha!
If you make this skirt, let me know what you thought! Better yet, share a picture!
Have a lovely weekend!
If you make this skirt, let me know what you thought! Better yet, share a picture!
Have a lovely weekend!
 RSS Feed